Tuesday, July 2, 2013

How I Made My First Converse Sneaker Cake


 I started with a sheet cake and cut out 3 identical cake shoes using a template that I created by tracing the bottom of an actual converse shoe. I added buttercream and crumb coated the cake. I then carved the front of the shoe using the actual shoe as my guide.
 I placed the crumb coated cake in the fridge for about 20 minutes to set the crumb coating and then I added another layer to try and smooth out the buttercream before adding the fondant.


I traced the side of the actual shoe along with the top of the shoe with wax paper and cut out the fondant using the wax paper template.  I placed the tongue on the shoe first. Followed by the right and left sides of the shoe. I rolled out white fondant and wrapped it around the base of the shoe.

                                                                                 
 I used Wilton White Icing to trace the stitching on the shoe. I also used an extruder to create the black sticking along the base of the shoe.


 The Shoe Laces were created by rolling out white fondant and using a textured mat to imprint on the shoe. I cut small strips and then glued them into the eyelets using gumpaste clue.
The eyelets were made by rolling out fondant and using a #2 and @10 icing tips to create the eyelet. I cut out the middle and then sprayed them with Wilton gray spray.


 The converse emblem was created using sugar sheets which were cut out and placed on the shoe using gum paste glue.


 Tada!!!! I was so excited. The final product turned out great along with the converse shoebox cake.


Sunday, June 10, 2012

Well Taylor Made Pantry (TMP) has been busy designing new Cake Pops and we recently added Truffles to our collection. We were featured in the 2012 Seattle Brides Spring/Summer editions and we are excited about the new business this review has brought us. We are truely blessed.

TMP has no had the opportunity to blog and frequently as we like due to our increase in business but our goal for this year is to blog weekly and provide you more hints, tips and ideas about Cake Pops and your party events.

I recently partnered with Amanda Star, owner and Event Stylist for Style your Celebration for a Bat Mitzvah and provided her Cake Pops for the Event. I created some vibrate standing Cake Pops using Fuchia, Bright Orange and Green. Designing new Cake Pops brings me the most joy when I think about what continues to drive the passion in me for my business. Taking a concept a customer provides and creating a unique design is so awesome.


I made more than 100 assorted Cake Pops using the color theme the customer requested.


White and Fushia Swirls


Green Non Pariels  and multi-color Jimmies.


I love shopping at Michaels and Walmart for curling ribbon for my Cake Pops.


It was pretty easy finding Jimmies and Non Pariels in the matching colors for the party.

Friday, June 24, 2011

A Cake Pop in the Making

Good afternoon everyone,

Yes it has been awhile since I posted in my blog and my goal is to start posting weekly. I thought it might be useful to post a blog showing how to make Cake Pops with a swirl design.

1. Start off with a Cake Pop ball of your choosing. I'm finding that there is no right or wrong regarding the size. Choose whatever size you like. Mine typically are about 1 ounce in weight. I store my cake pops on the sticks and place them in the refridgerator until I am ready to dip them.

Tip for the day: Cold Cake Pops and warm melting wafers =====> cracks, let your pops sit out for few minutes after taking them out of the refridgerator before dipping them the warm chocolate.


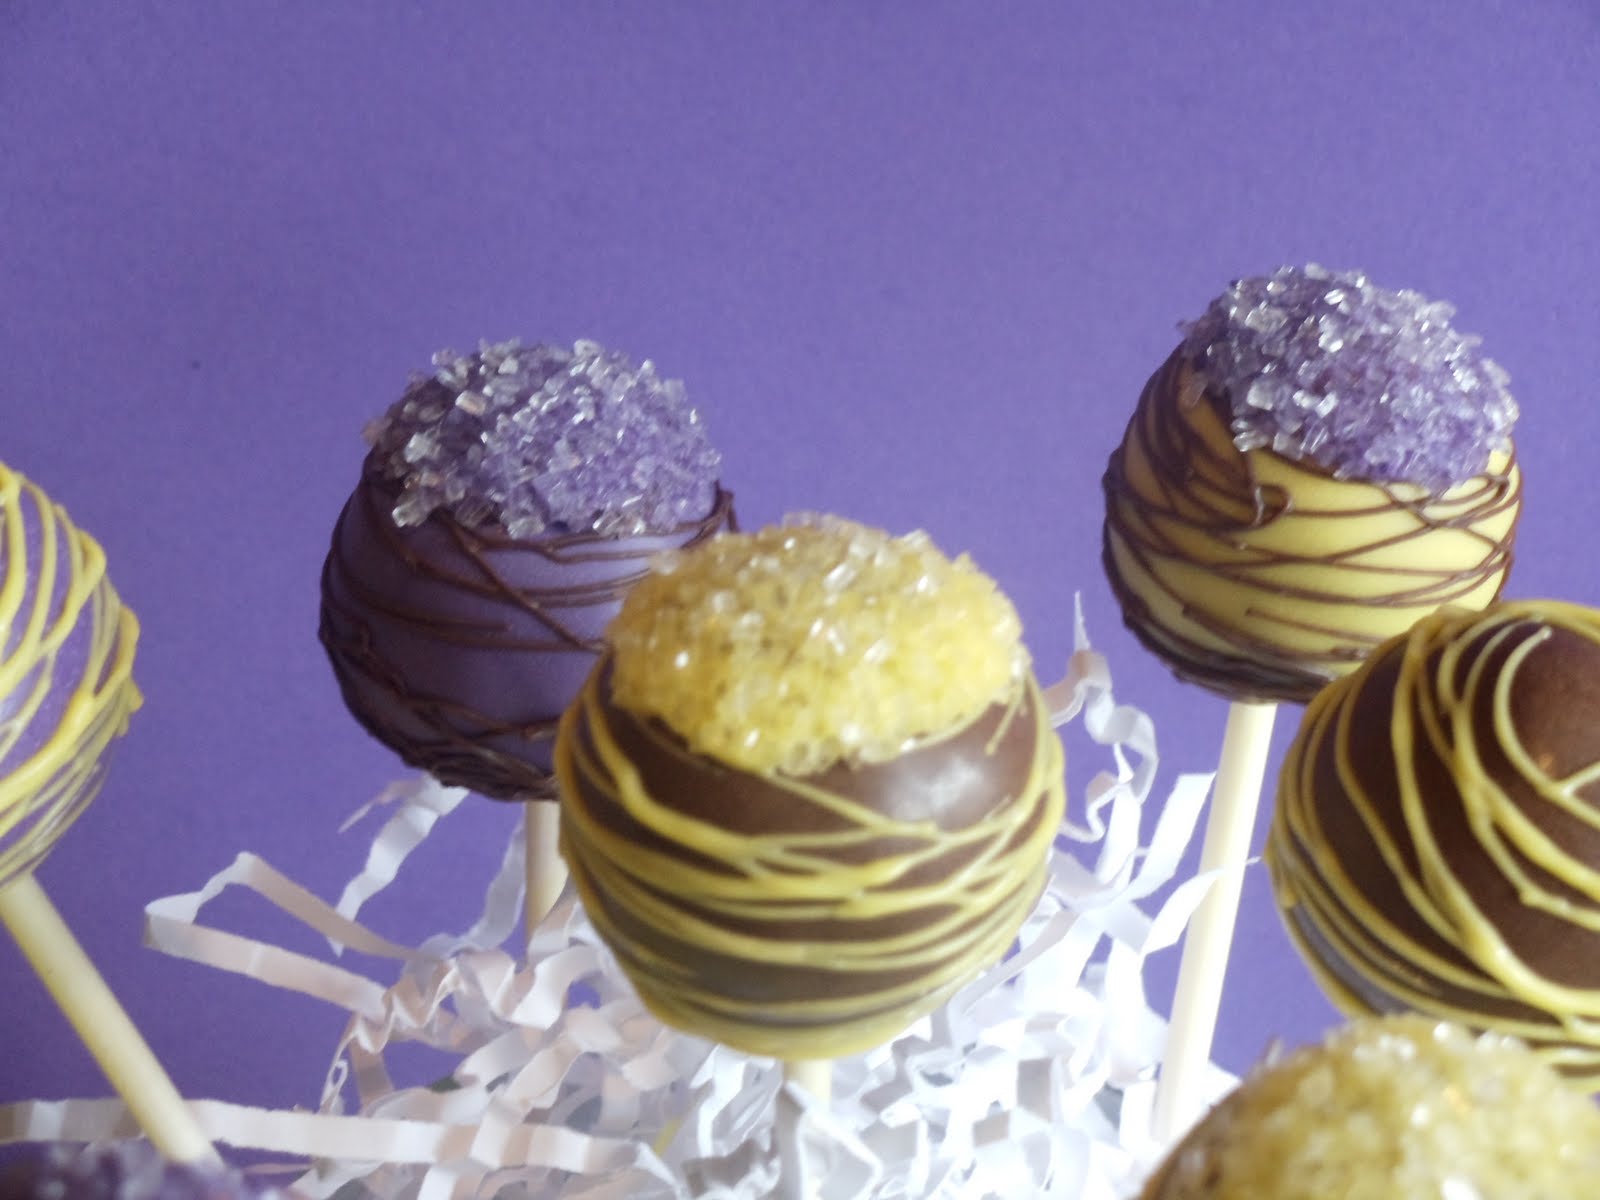
2. Dip the Cake Pop ball into your candy wafers, tapping and swirling the stick in your hand will produce a nice smooth surface on the cake pops, like the Cake Pops below.

 3. You might be asking why is this Cake Pop lying on its side? I find that when I hold the Cake Pop in a horizontal position I am able to draw the swirls onto the Cake Pop better. Another trick is to swirl the stick in your hand while adding the swirls to the cake pop. You can use a plastic bottlle filled with melted candy wafters


4. Here is a finished Cake Pop. I love the dark and light contrast of colors. It's super fun trying different candy wafers to produce different effects.


5. Lastly, I love packaging the Cake Pops for shipment. Ribbons are a favorite of mine and I try to find a complimentary ribbon based on the colors I choose for the Pop.


Here's a few other swirls I've done


 That's it for today.
Hints, tips, idea for today

1. Remember to balance the coldness of the Cake Pop with the warmth of chocolate to prevent cracking
2. Position the Cake Pops where it almost feels like you are writing on the Cake Pop which is a more natural
    feeling than drawing on the Cake Pops.

Happy Cake Pop making... more to come soon....
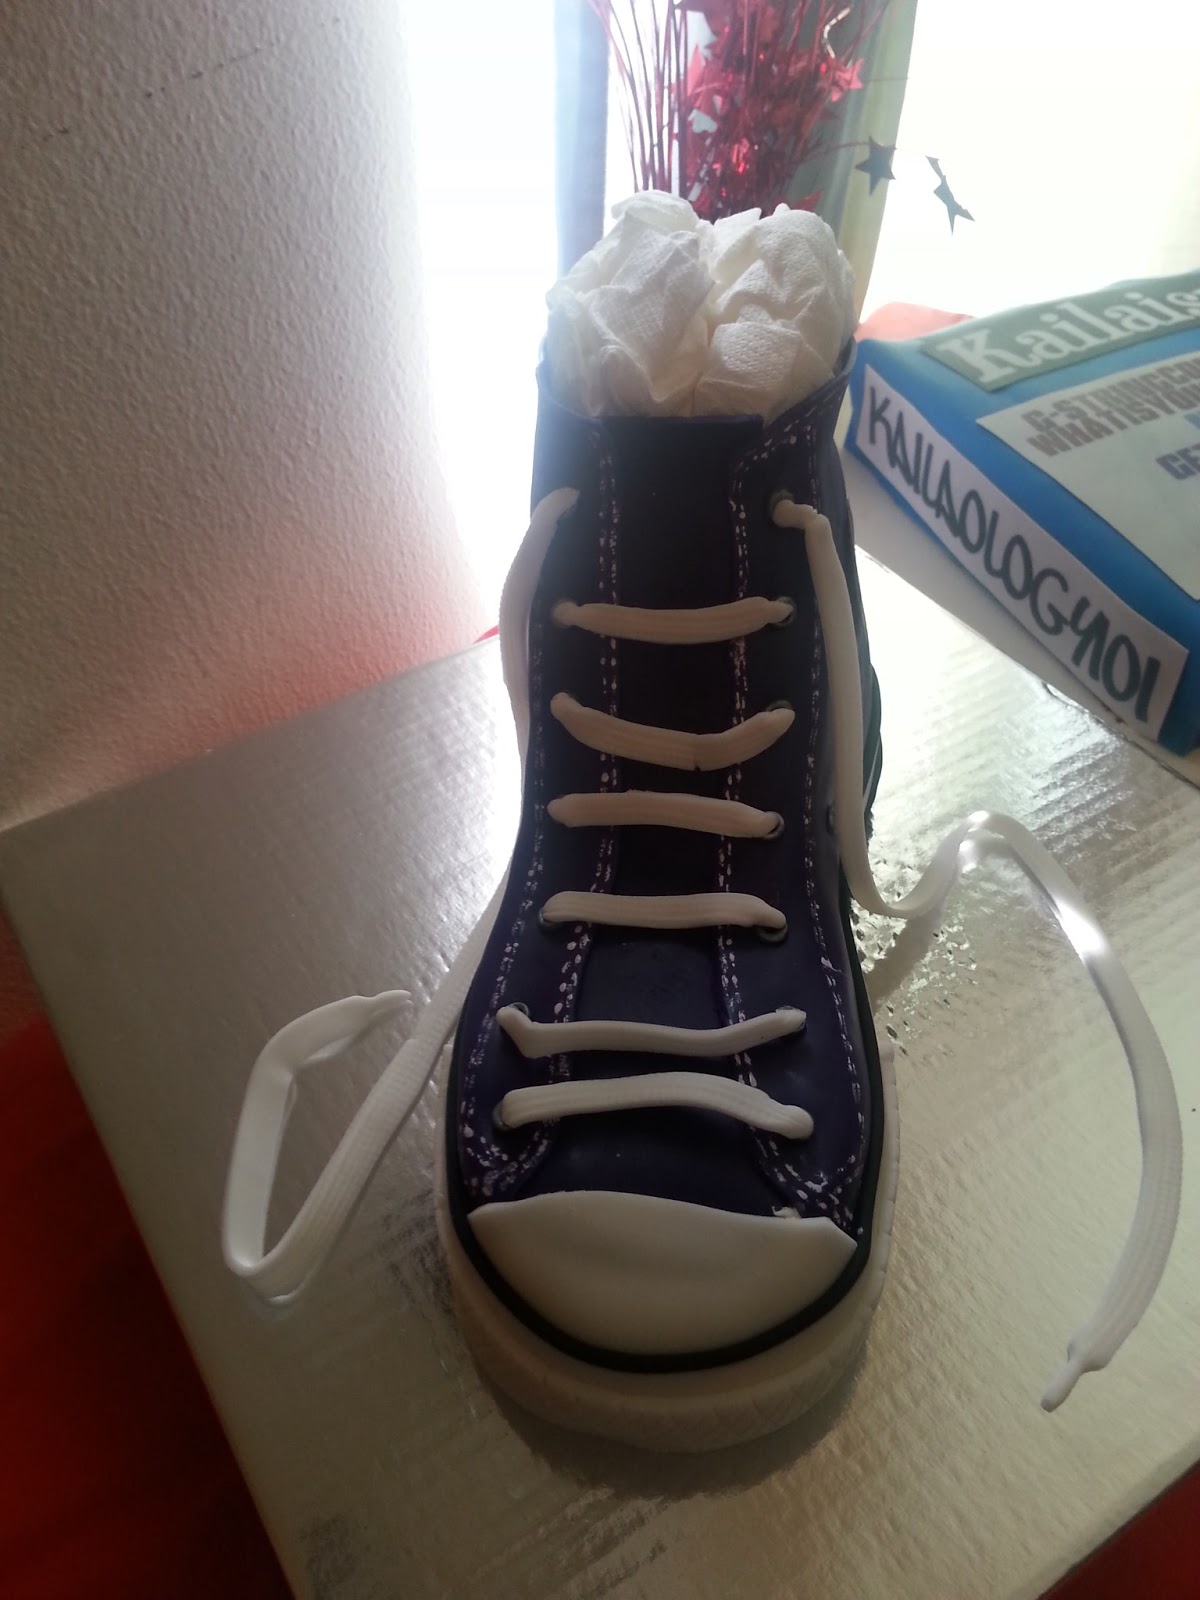
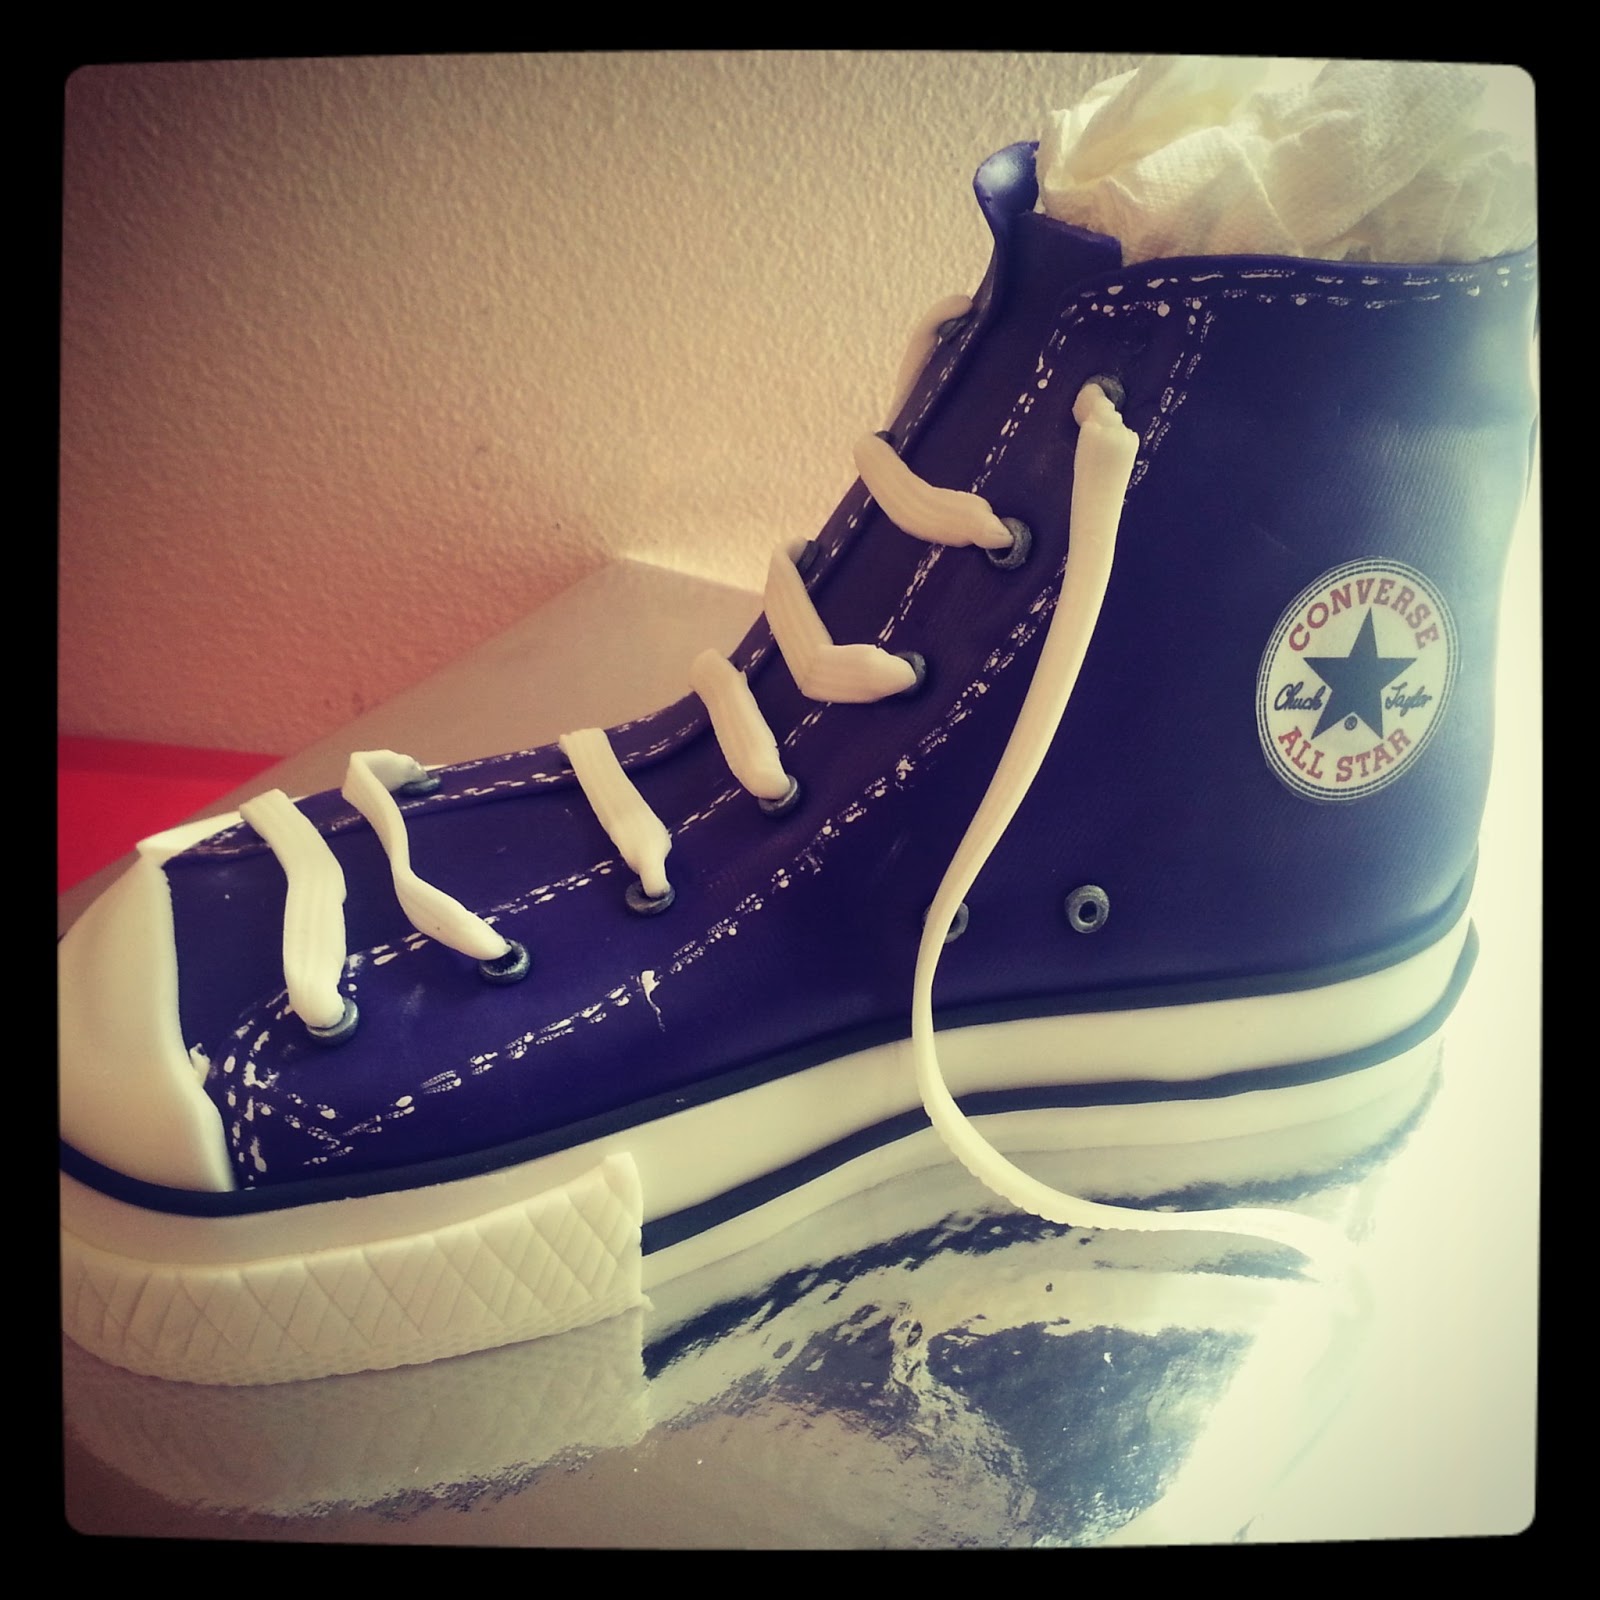
Friday, April 1, 2011

Using Black Candy to Decorate Cake Pops


Black Candy is great way to decorate your Cake Pops. You can use black m&m's as ears on your Cake Pops. The uniform shape of the m&m gives the Cake Pops very clean look and feel. You can also use black licrorice ropes and cut them into circles to use as ears or as eyes shown here on the Panda Pops. I love the AmeriColor pens and often use the black one to draw eyes, noses or mouths on the Cake Pops.

Black Fondant is a great decorating tool. You can roll it out and use flower cutters, cookie cutters or any tool to create shapes, letters, patterns, designs, numbers that will give your Cake Pops the wow factor.